
Start Login Process Now
Improve your signal with easy setup steps.
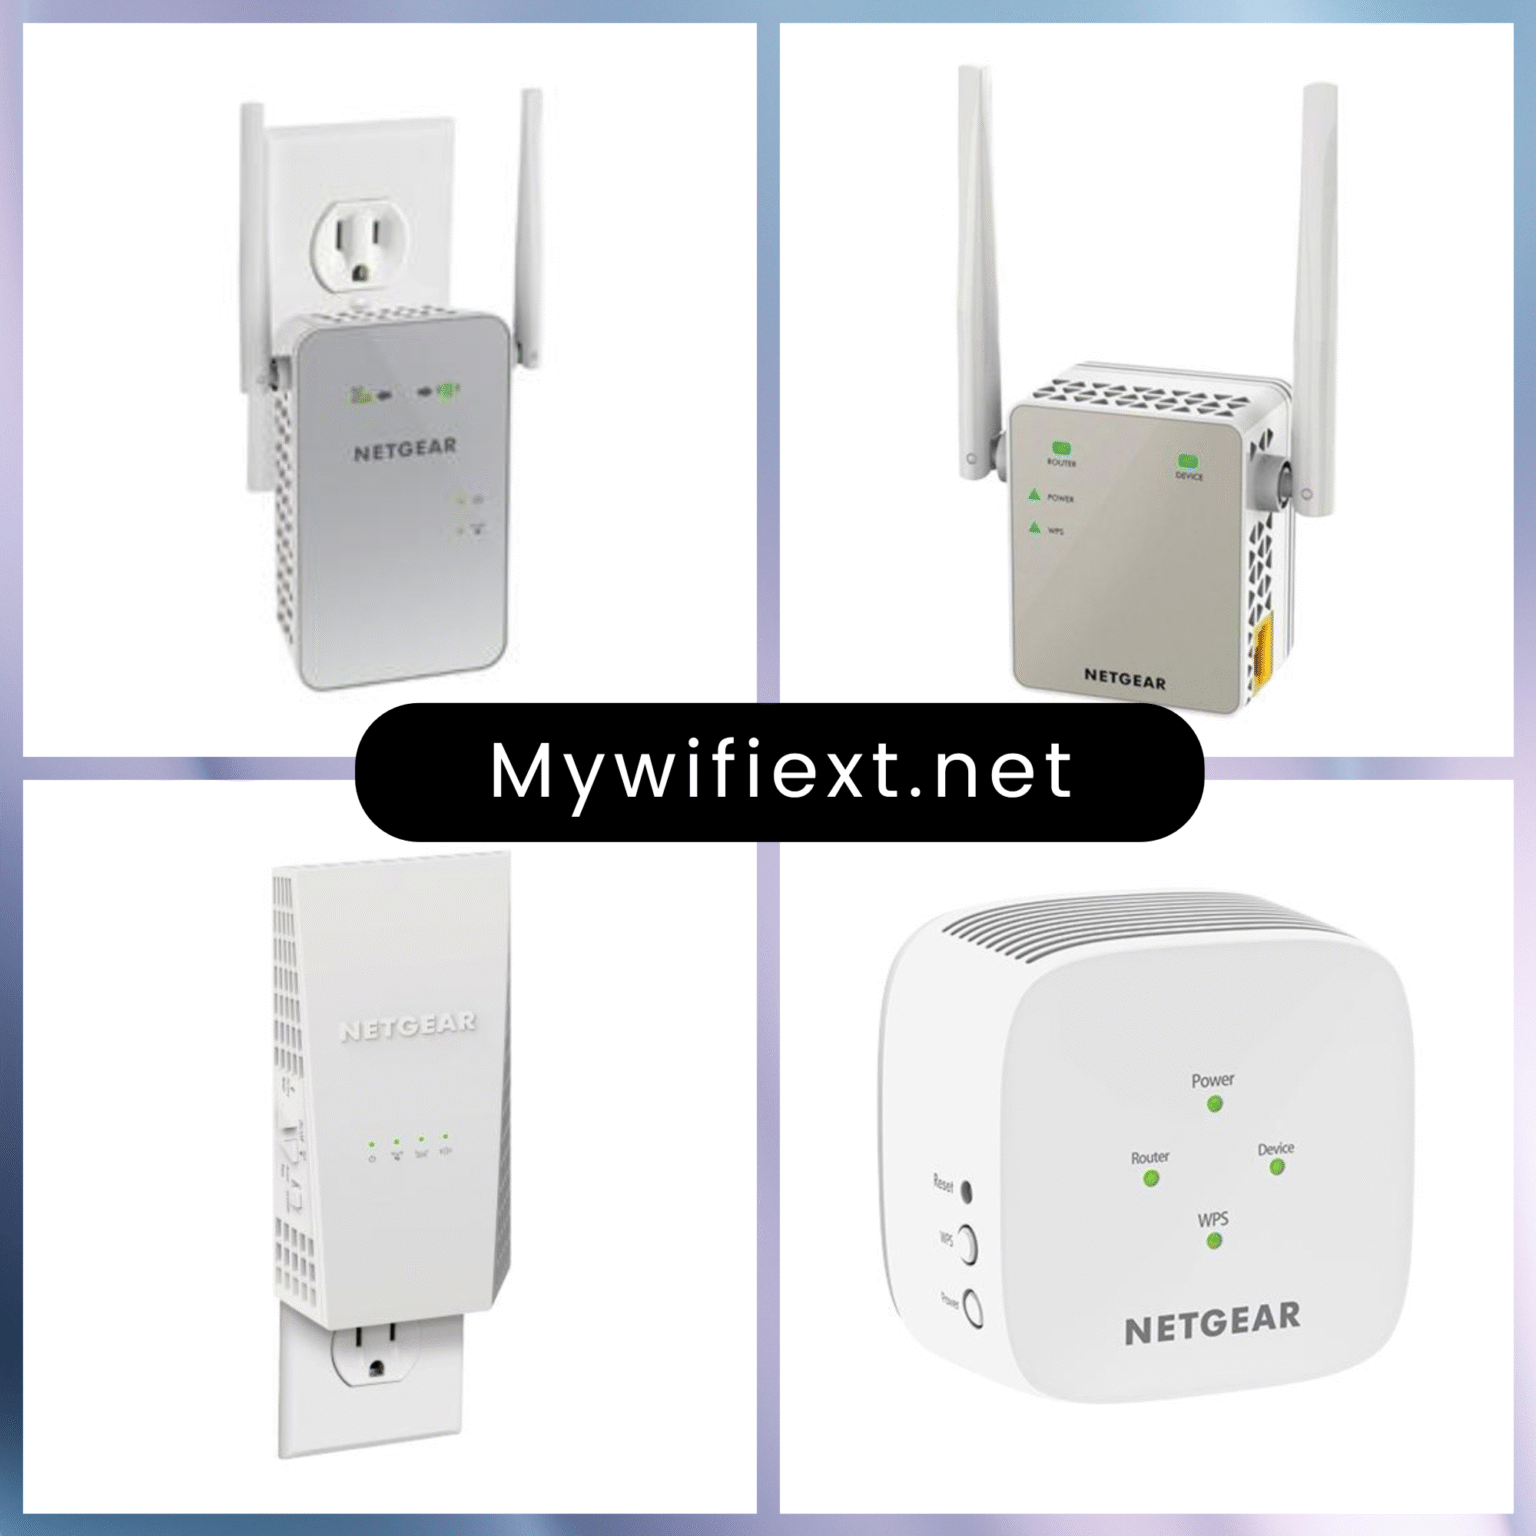
MyWiFiExt Extender Setup
WiFi dead zones can be incredibly frustrating—whether you’re trying to watch your favorite
show, attend a video call, or simply browse online. A NET GEAR WiFi extender is an easy and
affordable solution. But the setup process, especially via airrangehub.site , can sometimes be
tricky for users.
This article provides a detailed step-by-step guide for setting up your extender, covers common
setup problems, and shares practical solutions to get your network running smoothly

What Is MyWiFiExt and How Does It Work?
Before diving into setup and troubleshooting, let’s understand what MyWiFiExt actually is. The
term “MyWiFiExt” is commonly associated with the web address airrangehub.site or
airrangehub.site, which is used to install and configure Net gear WiFi Range Extenders.
WiFi range extenders act like a bridge between your existing router and areas where the signal
is weak or doesn’t reach. MyWiFiExt devices amplify your current WiFi signal, extending its
coverage. You can think of it like an echo for your internet signal—it picks up the original WiFi
and re-broadcasts it further.
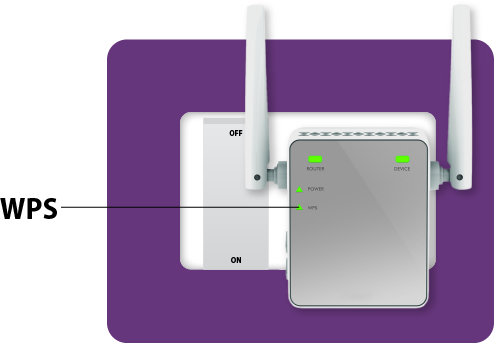
Alternate Setup Method: WPS
If your router supports WPS (WiFi Protected Setup), you can bypass the web-based setup.
WPS Setup Steps:
1. Plug in your extender.
2. Press the WPS button on your extender.
3. Within 2 minutes, press the WPS button on your router.
4. Wait for a green LED to confirm a successful connection.
5. Connect your device to the new extended WiFi using your existing password.
Note: This method skips custom settings, but it’s faster and easier
Tips for Optimal Performance
lacing your extender in the right spot is crucial.
Do’s:
– Put it midway between your router and weak-signal area.
– Keep it elevated on a table or shelf.
– Use the signal strength LED (green = strong, red = weak).
Don’ts:
– Don’t hide the extender behind furniture.
– Avoid placing near microwaves or cordless phones.
– Don’t place it too far from the router.
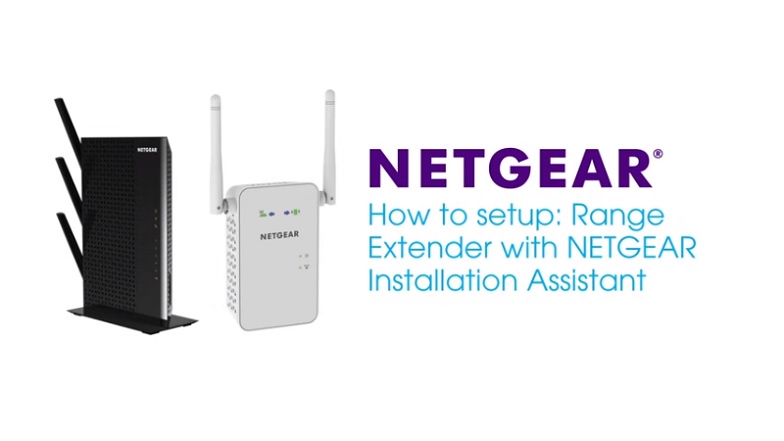
Step-by-Step Guide to Set Up NET GEAR Extender via airrangehub.site
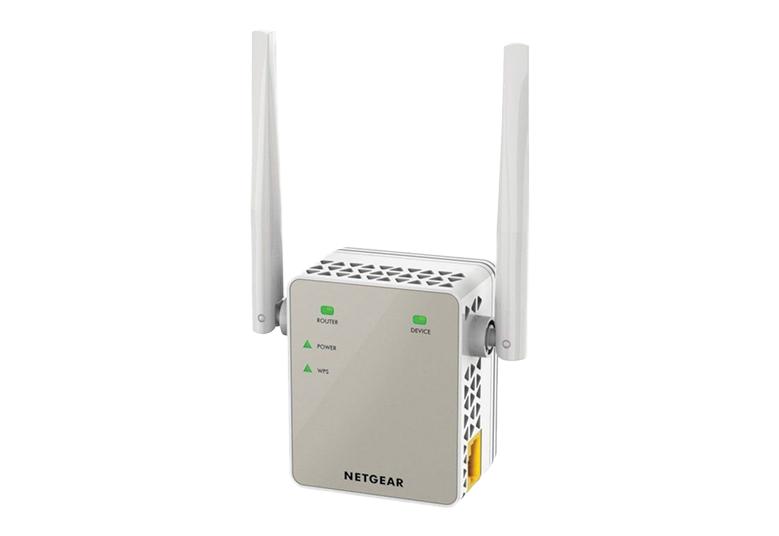
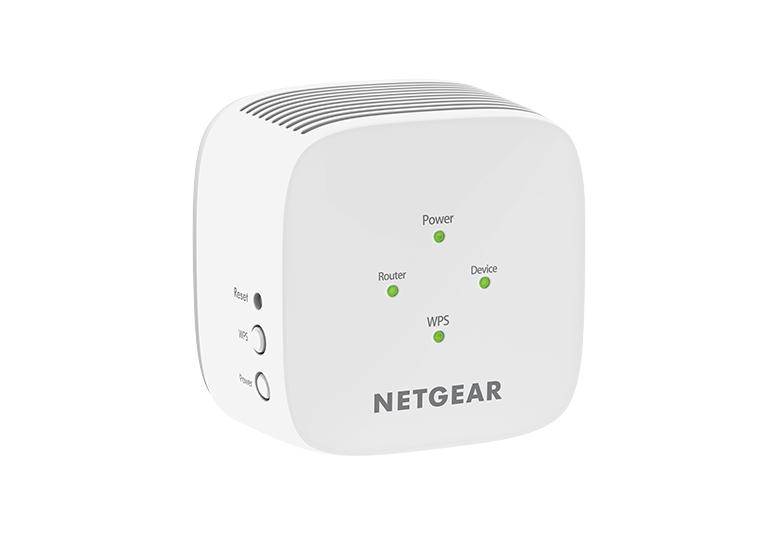
1. Unbox and Plug It In
Start by plugging your MyWiFi Ext extender into a power outlet near your router. Wait for the power LED to turn solid green. This ensures the device has booted properly.
2. Connect to the Extender
On your laptop, phone, or tablet, go to your WiFi settings and look for a network name like NET GEAR_EXT. Connect to it.
3. Access Setup Page
Open a browser and type www.mywifiext.net or mywifiext.local into the address bar. This takes you to the Net gear extender setup wizard. If this doesn’t work, try using the IP address.
4. Follow the Smart Wizard
Once on the setup page, the Net gear Genie will walk you through the installation process: - Select your home WiFi network. - Enter the WiFi password. - Choose a name for your extended network (you can keep the same or change it). - Complete the setup and wait for the extender to reboot.
5. Relocate the Extender
After configuration, unplug the extender and move it to the area with a weak signal. Ensure it's still within range of your router. Plug it in and wait for the connection lights to stabilize.

Common Setup Problems and How to Fix Them at Airrangehub.site
Despite the straightforward process, users often encounter issues during setup. Let’s address
the most frequent problems:
www.mywifiext.net Not Working
Incorrect Password or Network Not Detected
Can’t Login to MyWiFiExt
WPS Connection Failure
Extender Disconnects Frequently

Troubleshooting: Airrangehub.site Not Working At All
Find the reset button (usually a small pinhole). Press and hold it for about 10 seconds using a
paperclip until the LEDs blink. This will restore factory settings.
Turn off your modem, router, and extender. Wait a minute, then power them back on in this
order: modem > router > extender.
Interference from walls, microwaves, baby monitors, or Bluetooth devices can weaken signals.
Repositioning helps
Still facing issues? Visit Netgear’s support page or contact their chat support through the
www.mywifiext.net portal
Airrangehub.site
Setting up a NET GEAR WiFi extender via airrangehub.site doesn’t have to be complicated.
With this guide, you’re equipped to handle everything from initial setup to fixing common bugs.
Whether you’re using the browser method, WPS, the end goal is the
same: a fast, stable, and extended WiFi signal in every corner of your home or office.
Stay connected, stay productive, and enjoy hassle-free internet access—just the way it should
be.